How to host websites and services on a fibre line while enduring regular power failures.
This website was hosted on an Intel NUC, sporting an Intel i7 CPU and a luxurious 32GBs of RAM. Serving websites from your home is viable when you have 100mbit symmetric fibre (You are awesome Vumatel). Unfortunately, South Africa occasionally can’t supply enough power to meet the demand of its public at which point South Africans experience load shedding.
My home was recently load shed for 5 hours a day on several days during the course of a week – and that got me thinking; why am I hosting relatively static content on a machine that uses around 200W of electricity when I could probably cut down on electricity costs by switching to a lower power machine and SSDs ? (I can’t switch everything, but small websites are a good target)
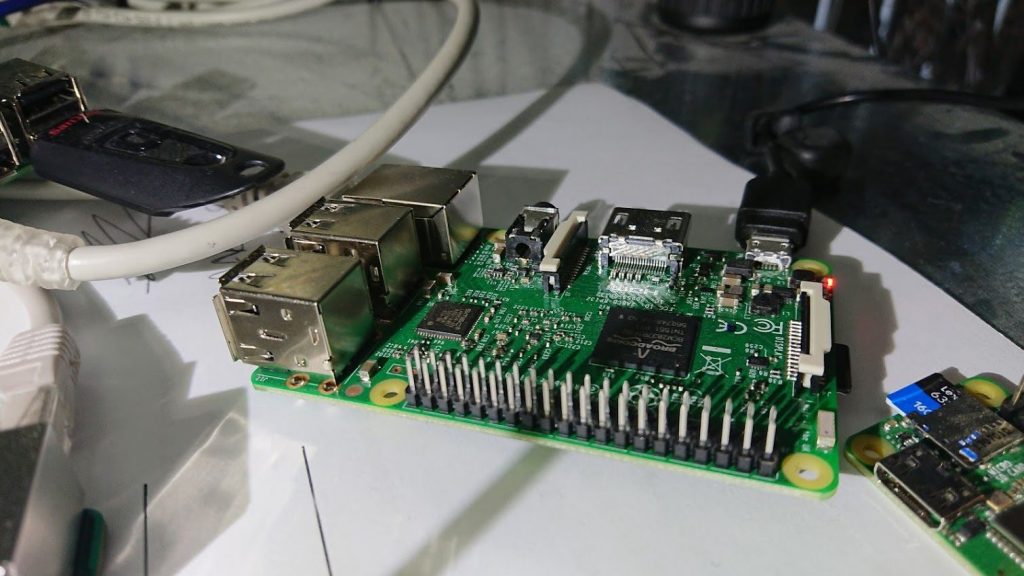
This seemed like the perfect time to try out Debian BUSTER for 64-bit ARM rawr. Running docker on a Pi with 1GB of RAM is probably a ridiculous, but it’s surprisingly usable. Better yet, you can run a Pi from a USB power bank for several hours, and UPS-like switch-over functionality is included as part of the deal (most of the time…) It’s got to be the cheapest way to reliably host anything and it reduces the power bill.
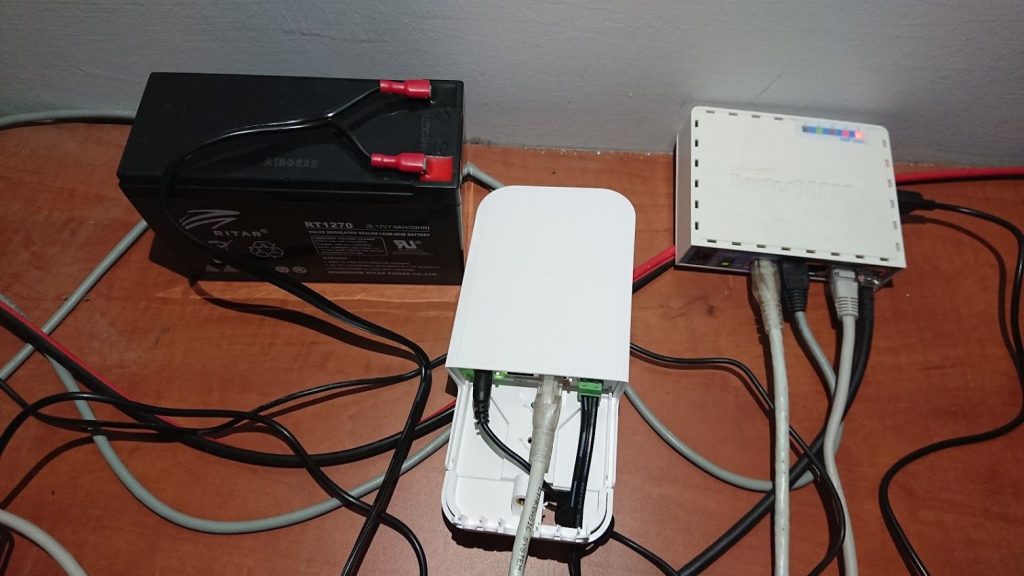
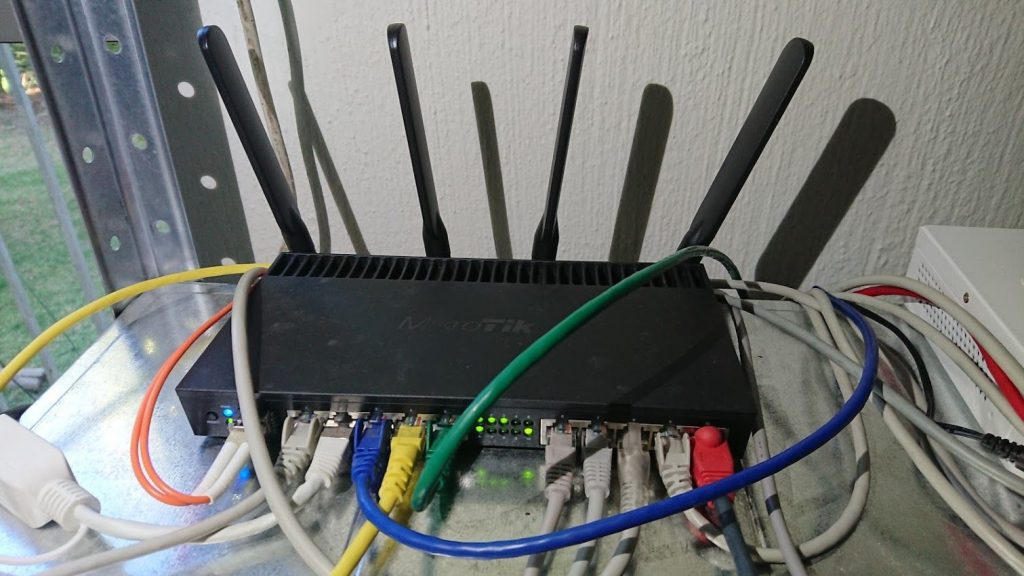
The first step is getting your routers to stay powered during a power failure. Decent routers usually have a Power-over-Ethernet capability and Mikrotik is no exception. Mikrotik makes a relatively inexpensive POE UPS for their routers called the mups. The mups is small, cheap and simply plugs in between the router and the existing POE source. It charges a 12V battery (you choose the size) and seamlessly switches to it in the event of a power failure.
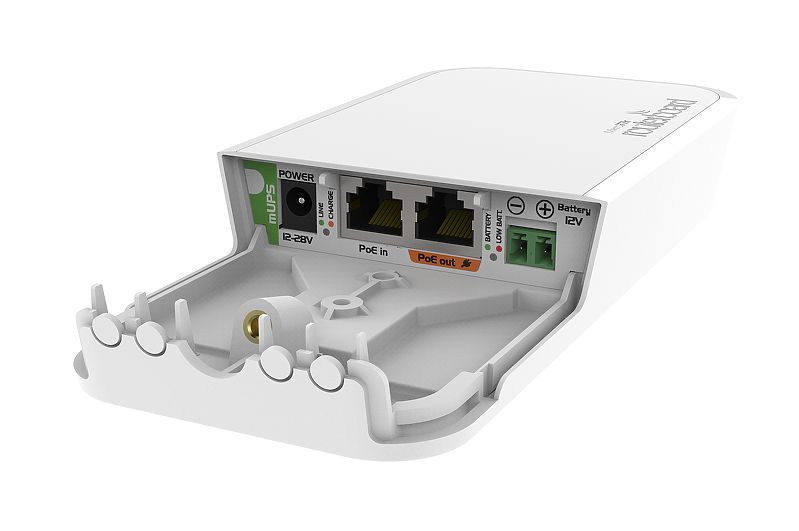
You might ask “Why can’t I use a normal UPS to power my routers ?” – you can, but a normal UPS has a battery and in order to power your equipment it has to take the battery power (DC), modulate it, send it through a step-up transformer and out to your device. Your device will generally take that AC 240V, step it down, rectify it (demodulate it) to DC and then use it. By stepping up and back down again you’re introducing a lot of inefficiency into the process, which translates into bigger batteries and big equipment. Mikrotik routers (like many routers) expect 10V-30V input – so when the power goes out and a MUPS is in use, the MUPS simply directly connects the battery to the router. The product is a simple battery can power a small Mikrotik router for several hours with almost no heat output and complete silence.
Installing the Debian Buster preview image is easy, their wiki pretty-much does everything for you :
$ wget https://people.debian.org/~gwolf/raspberrypi3/20190206/20190206-raspberry-pi-3-buster-PREVIEW.img.xz
$ xzcat 20190206-raspberry-pi-3-buster-PREVIEW.img.xz | dd of=/dev/sdX bs=64k oflag=dsync status=progress```
I found I had to do a few things to get things running smoothly :
Set a timezone : tzselect
Set the hostname and associated hosts entry : /etc/hosts and /etc/hostname
Install locales : apt install locales
Install dpkg-reconfigure : apt install debconf
Reconfigure locales : dpkg-reconfigure locales (this gets rid of the missing locale error message)
Install some other stuff : apt install ntp build-essential byobu atop htop sudo
If your Pi is on a reliable battery-backup* you can enable write-caching :
In /etc/fstab :
LABEL=RASPIROOT / ext4 rw,async,commit=500,noatime,discard,nodiratime 0 1
rw – read/write
async – asynchronously read and write (dangerous with a battery)
commit=500 – the amount of time the fs waits before forcicbly flushing buffers to disk (500 seconds)
noatime – don’t update access times on files
discard – use the TRIM command to tell the SSD what blocks are no longer in use (this often doesn’t work, but I’ve found it works on high-end modern Sandisk and Samsung SD/MicroSD cards)
nodiratime – don’t write the access time for directories
You’ll want to create a user account for yourself with sudo privileges :
usermod -aG sudo username
And add your ssh key: (from desktop) $ ssh-copy-id username@rpi
Test the login and then don’t forget to disable root login via ssh.
Install docker-ce for Debian – don’t forget to add your new user to the docker group :
sudo usermod -aG docker your-userTo install docker-compose you’ll need python3 and pip : apt install python3-pip python3
and then “pip3 install docker-compose”. It works beautifully.
And that’s about it. You may find that some common images don’t have variants available for arm64, but rebuilding them is educational in itself 🙂
Often cloning the repository associated with the image you want and then running “docker build -t mynickname/a-project:version .” is enough to generate arm arm64 variant of the project. You can then push the image to docker-hub for use with docker-compose by going “docker push mynickname/a-project:version”. You may need to log in first though : “docker login”.

And yes, one might argue that publishing the above is a security risk… but then one might counter with “obfuscation isn’t security”.

A side effect of this process was the discovery that Ghost is a real RAM-hog and CPU-inefficient. WordPress uses < 10% of the RAM Ghost uses… and the WordPress sites are a lot more complex. WordPress also responds faster than Ghost, so it may be time to switch.