This is a quick deep dive into home automation with Home Assistant. Home automation is a very wide and complex topic, this post is mostly an overview of what I’ve personally found possible so far.
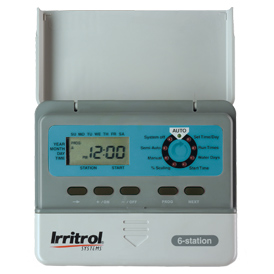
I bought my house back in 2011. The garden came with an irrigation system, but no valves and no automation. I went looking for valves and a suitable controller… but they were terrible; they had horrible LCD displays that required cryptographic experience to interpret and they cost a ton. The house’s alarm system also sucked. I never figured out how to operate it.
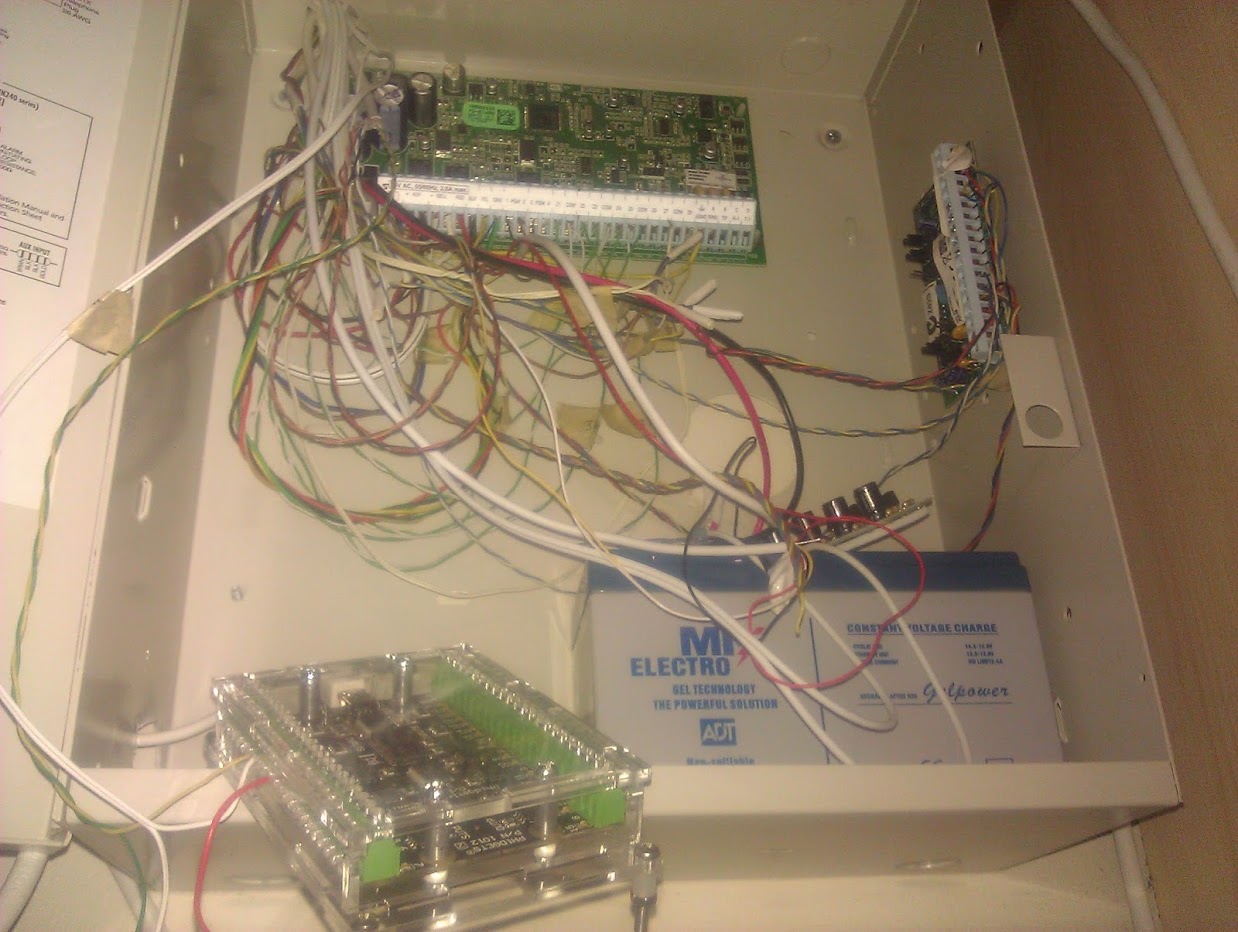
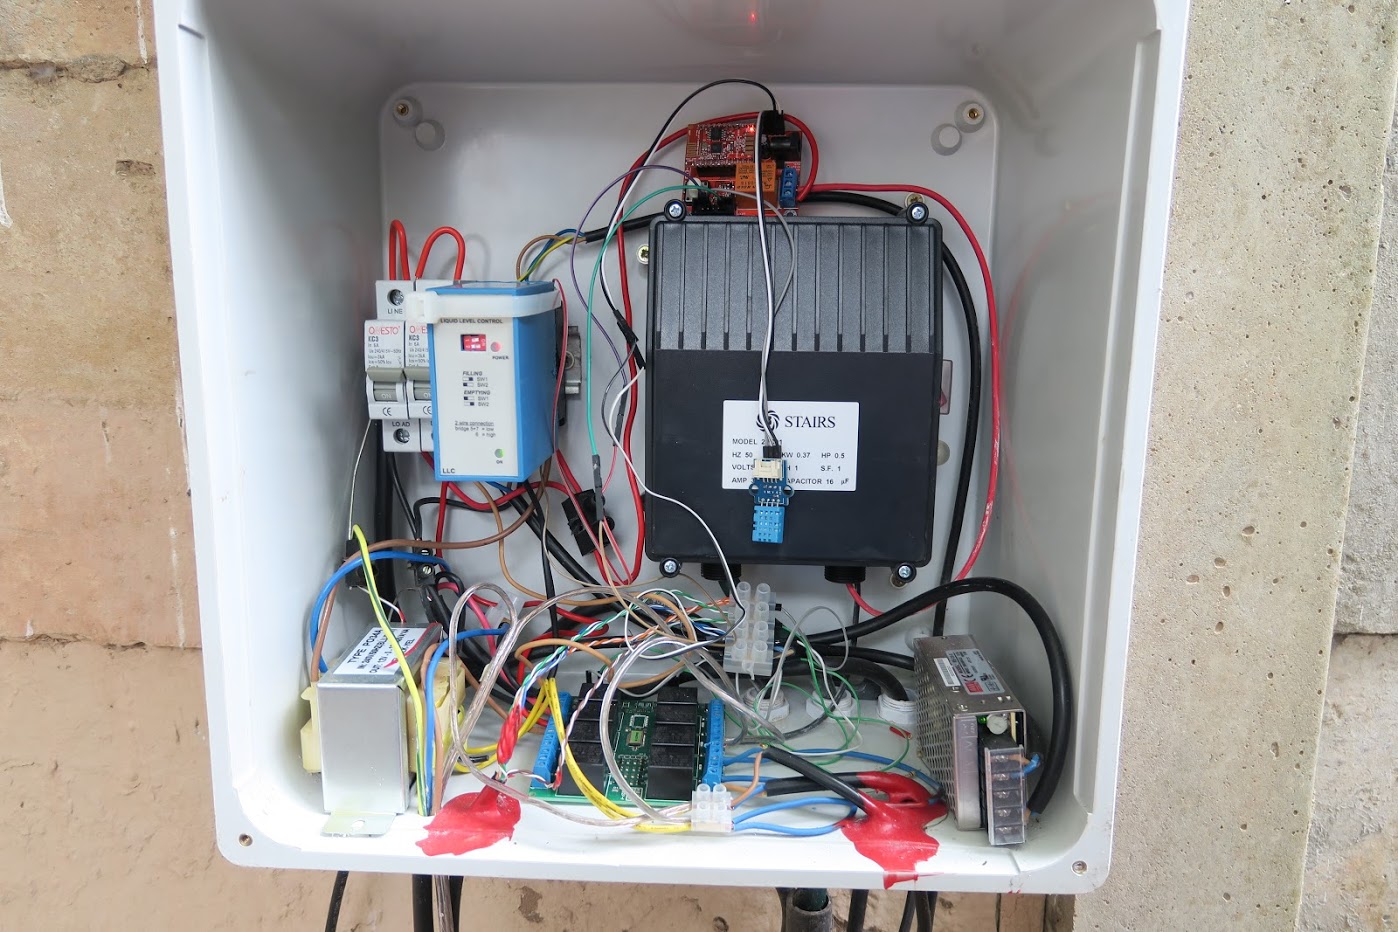
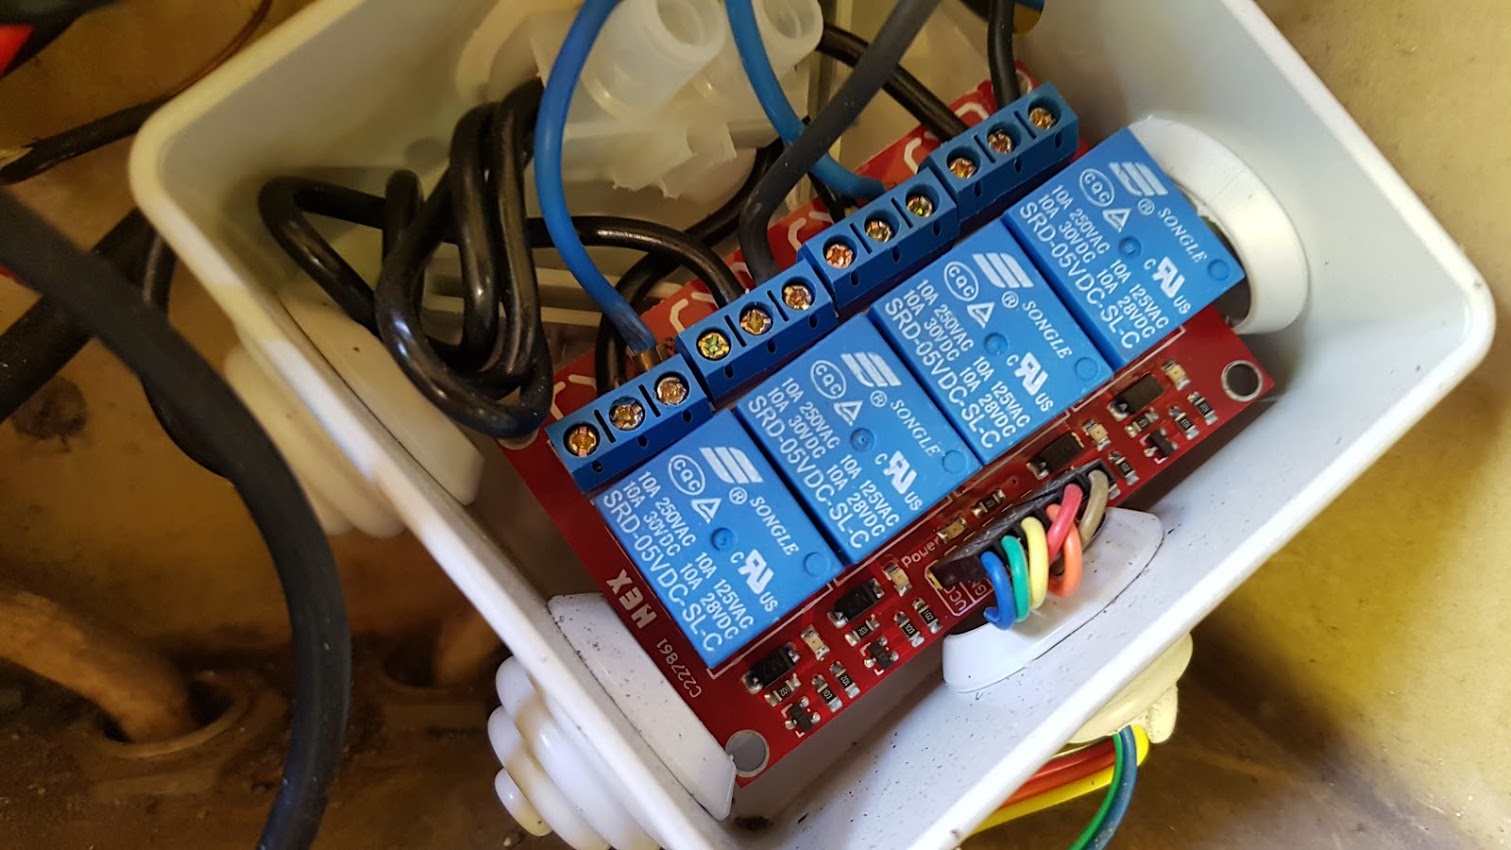
This was 2011 and that meant there were no Raspberry Pis. I automated the garden irrigation system by using Arduino (Atmel Atmega328P) MCUs, controlling relays on a long 100m I2C line around the garden. Using some tricks I managed to get the Arduinos down to 500 Hz and that was reliable enough.
Fortunately, things have changed; 2012 came, the Raspberry Pi 1 hit the market and suddenly these devices could be networked using Ethernet for a fee that wasn’t insane. Then came 2016 and the WiFi-enabled Espressif esp8266 MCU graced us with its incredible price point of ~$4.00 and tiny size. Initially your coding choices were Arduino or Lua but eventually MicroPython took away that world of hurt. MicroPython RAWKS.
At this point I had automated some parts of my home, but all using bespoke code, communicating through an MQTT broker/server. This worked, but it wasn’t user-friendly. Great for cron-based irrigation control, crap for turning on lights during an evening with friends.
Then, per chance, I came across Home Assistant. Initially I wanted to use it with a hacked Xiaomi Air Purifier (that’s a story on its own), but as I experimented with it I realise it had the ability to radically improve the usability of my existing home automation. I decided to give it a proper try and started configuring it to talk to my existing devices.
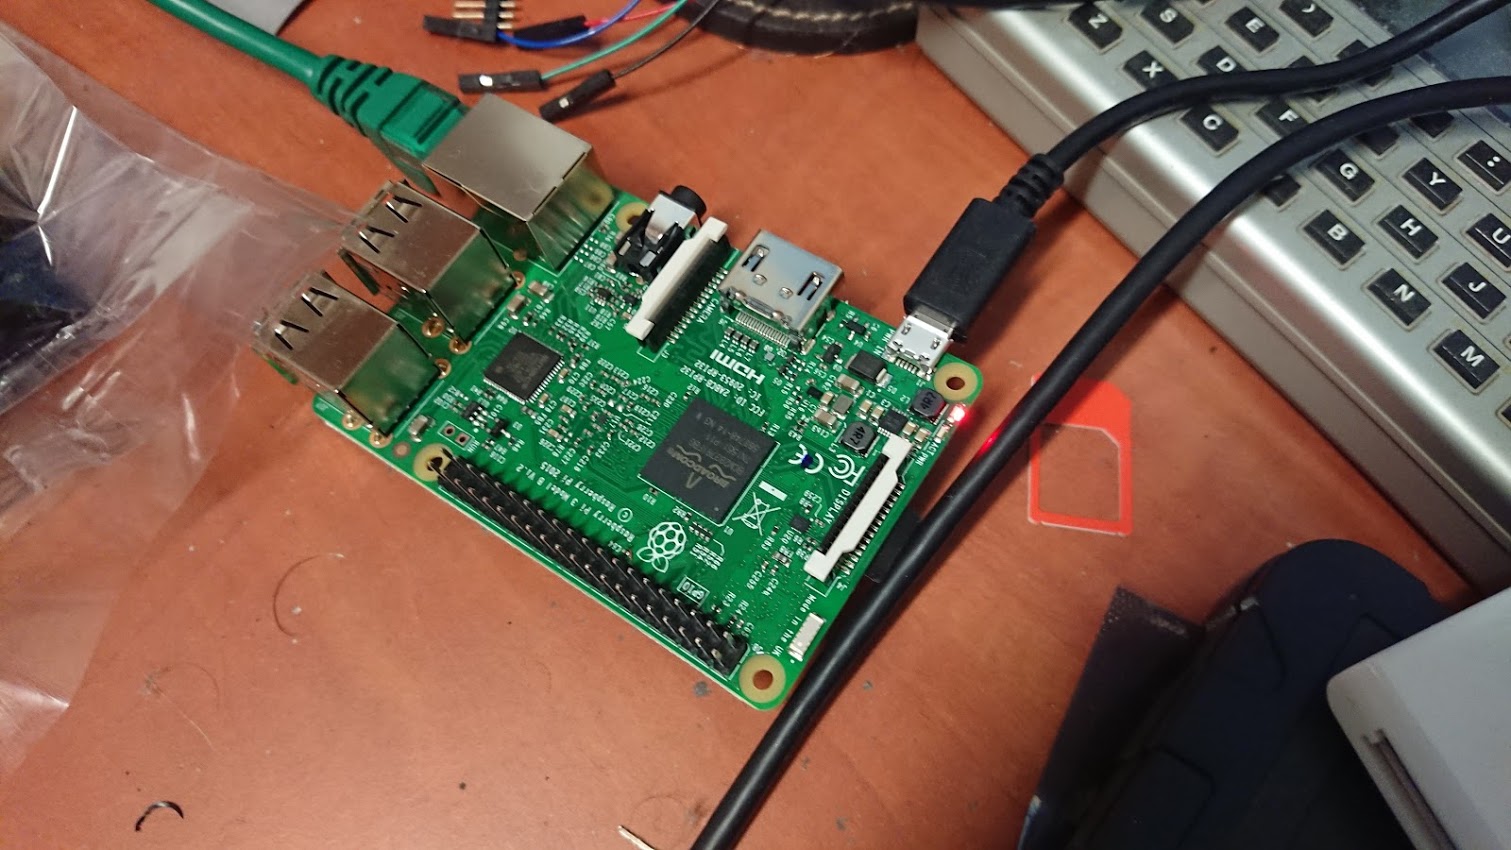
The first Hass experiment was a lonely Raspberry Pi 3B with a super crap 16GB Sandisk MicroSD card. Even in this configuration both Hass and InfluxDB were completely usable.
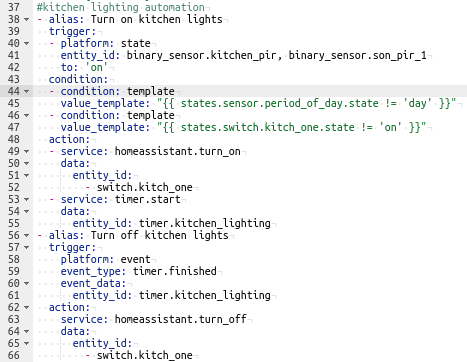
All my stuff was JSON-MQTT based in that my home-grown devices emitted (and ingested) JSON payloads via the MQTT broker. This was trivial to hand to Hass thanks to Hass’s “value_template” configuration directive:
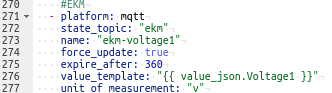
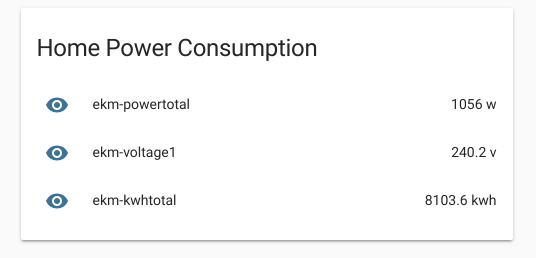
The sensor above is an EKM power meter, running on an RS422 bridge. A Golang application I wrote, running in a docker container on Hass talks to the meter via the bridge and sends the results to Hass via MQTT as a JSON object. Home Assistant is a collection of docker containers running on a machine (in my case an Arm single board computer).
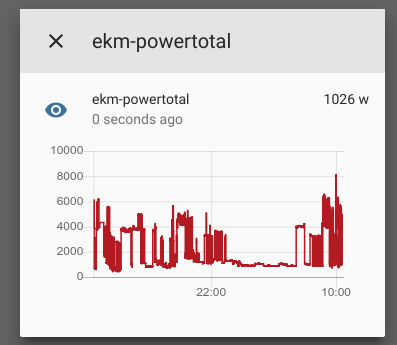
Hass has basic graphing functionality built-in, but for SUPER COOL FUN I installed the InfluxDB/Chronograf “add-on”.
I had never heard of InfluxDB… damn it’s cool:
 Interactive graphs rock. This one shows power usage in watts.
I could sing InfluxDB’s praises for a long time… it’s unbelievably cool… but I’ll leave that for another day.
I neeeed moar GRAPHz…
It’s like eating candy and has similar health issues.
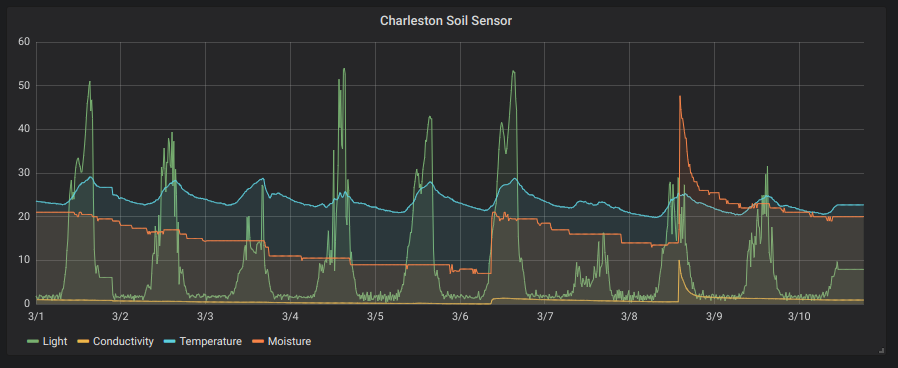
A Soil Moisture Sensor rendered in Grafana from data in InfluxDB.
Did I mention the soil moisture sensors ?
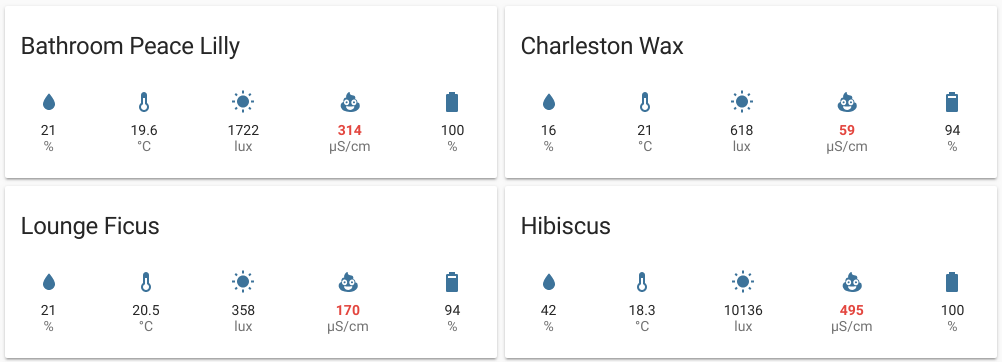
A small subset of soil moisture sensors in the house and garden. Also, gotta love the poop emoji.
For ages I had been looking for a soil moisture sensor solution, but they were all terrible and relatively expensive. I started with the Chirp from Tindie… but they aren’t wireless, they’re bare boards and as such they don’t last.

Dope.
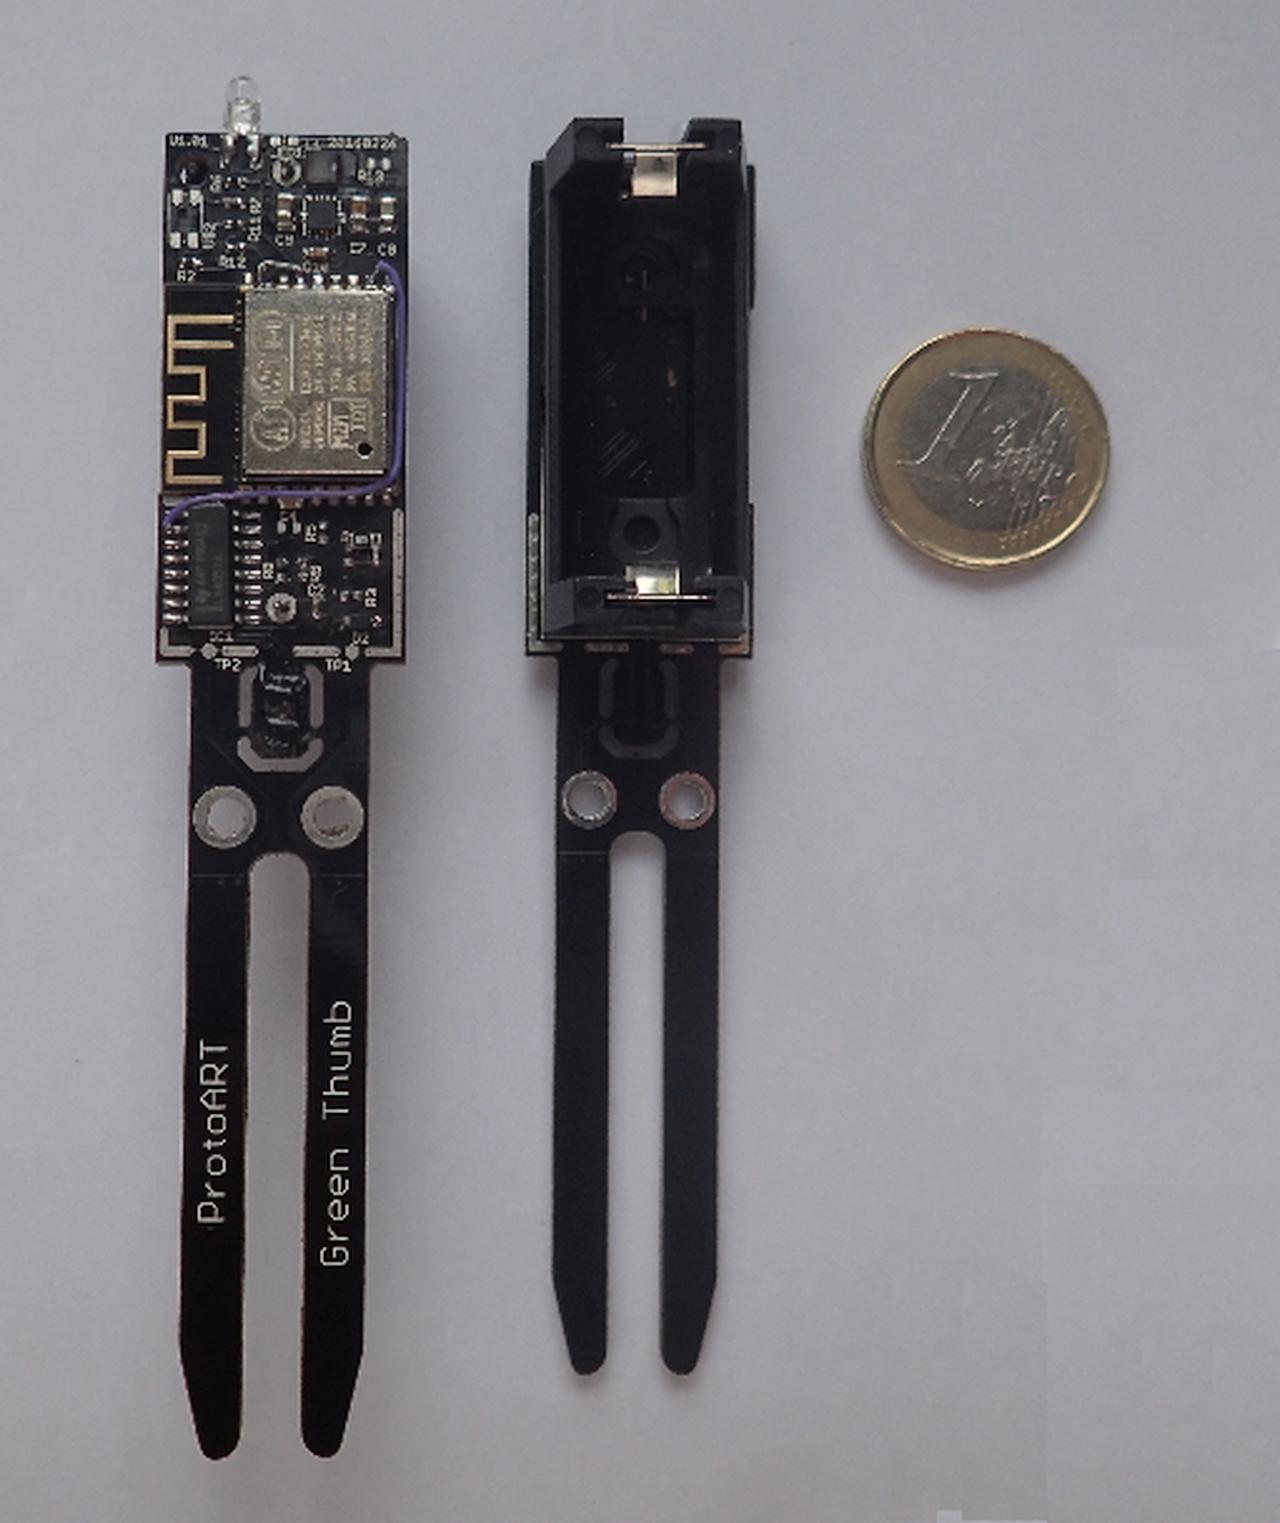
I then tried an awesome solution by “ProtoArt” on Tindie called the GreenThumb (these are no longer for sale). These are esp8266 based. They worked really well and had some cleverness built in (frequency-resonance sensing of soil constituents), but it was also a bare board and esp8266s aren’t known to be light on battery use.
It’s 2019, enter…
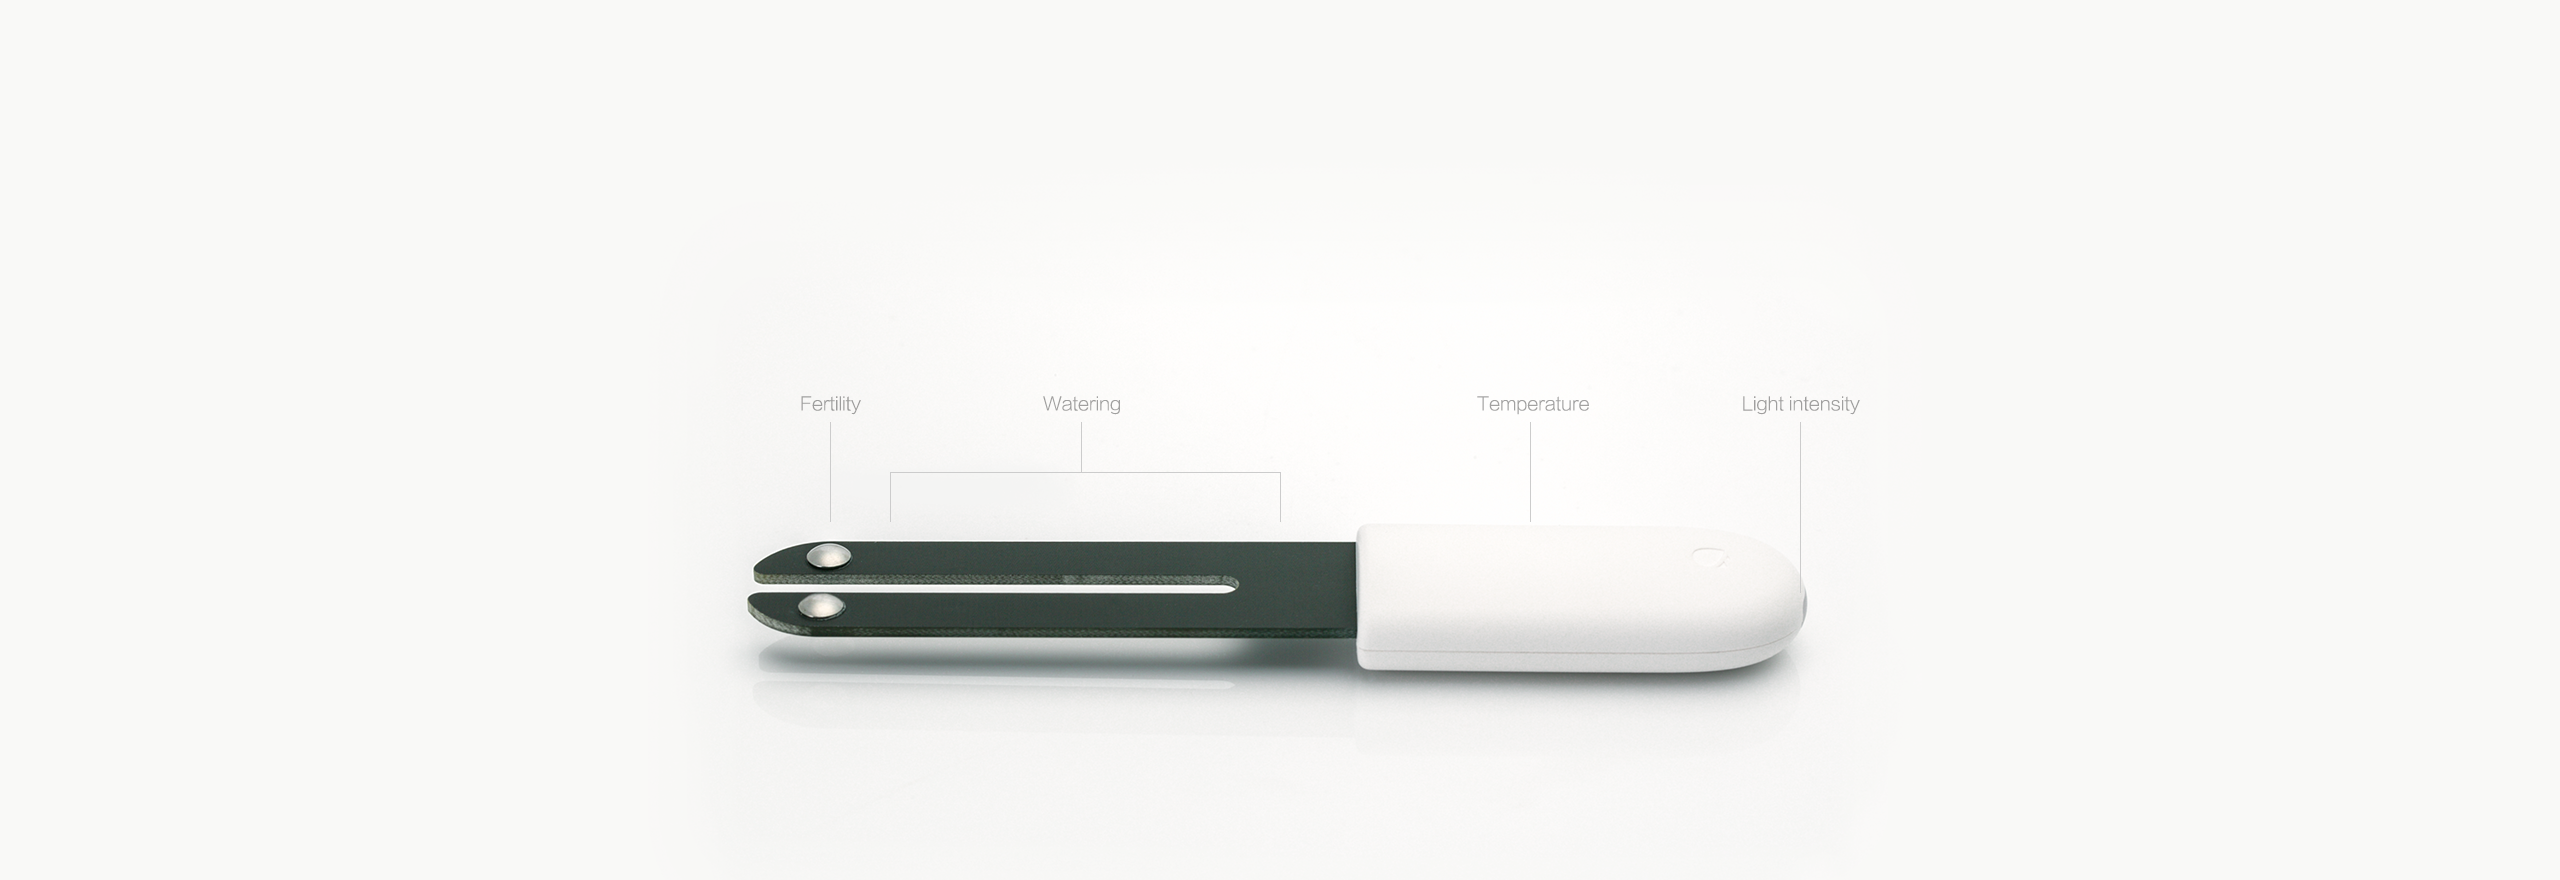
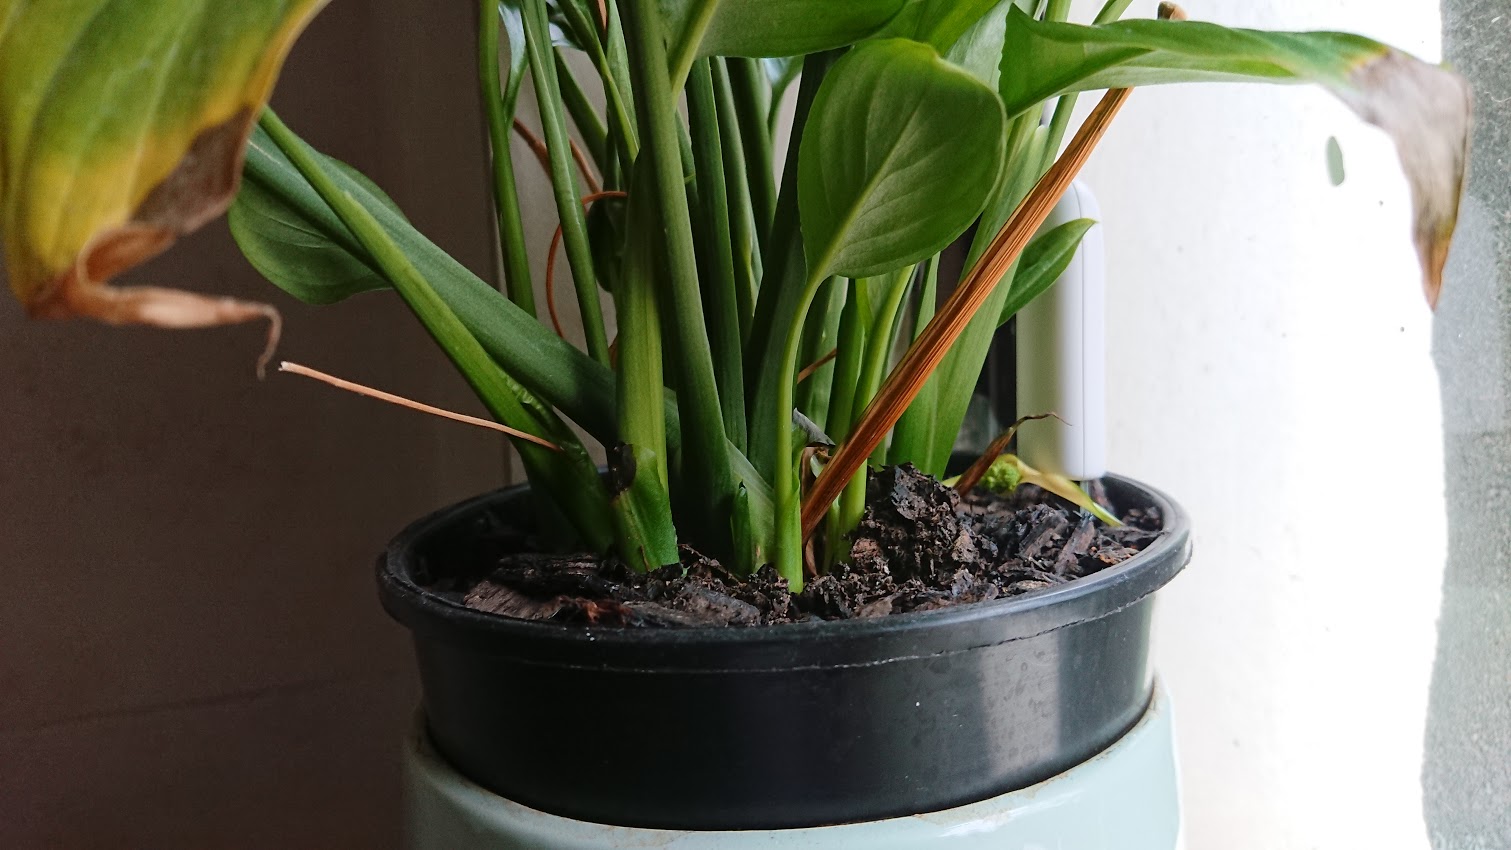
The HHCC (also branded as Xiaomi Flora) soil moisture sensor. This is Bluetooth Low Energy-based. It does moisture, conductivity, light and temperature. It is rain-proof (it has internal seals), relatively affordable, aesthetically unobtrusive and critically the capacitance plates are embedded in the PCB, so should last a long time (compared to the Chirp probe where the sensing plates are traces on the outside of the PCB). Some awesome people have teared down the unit and the protocol is well understood.
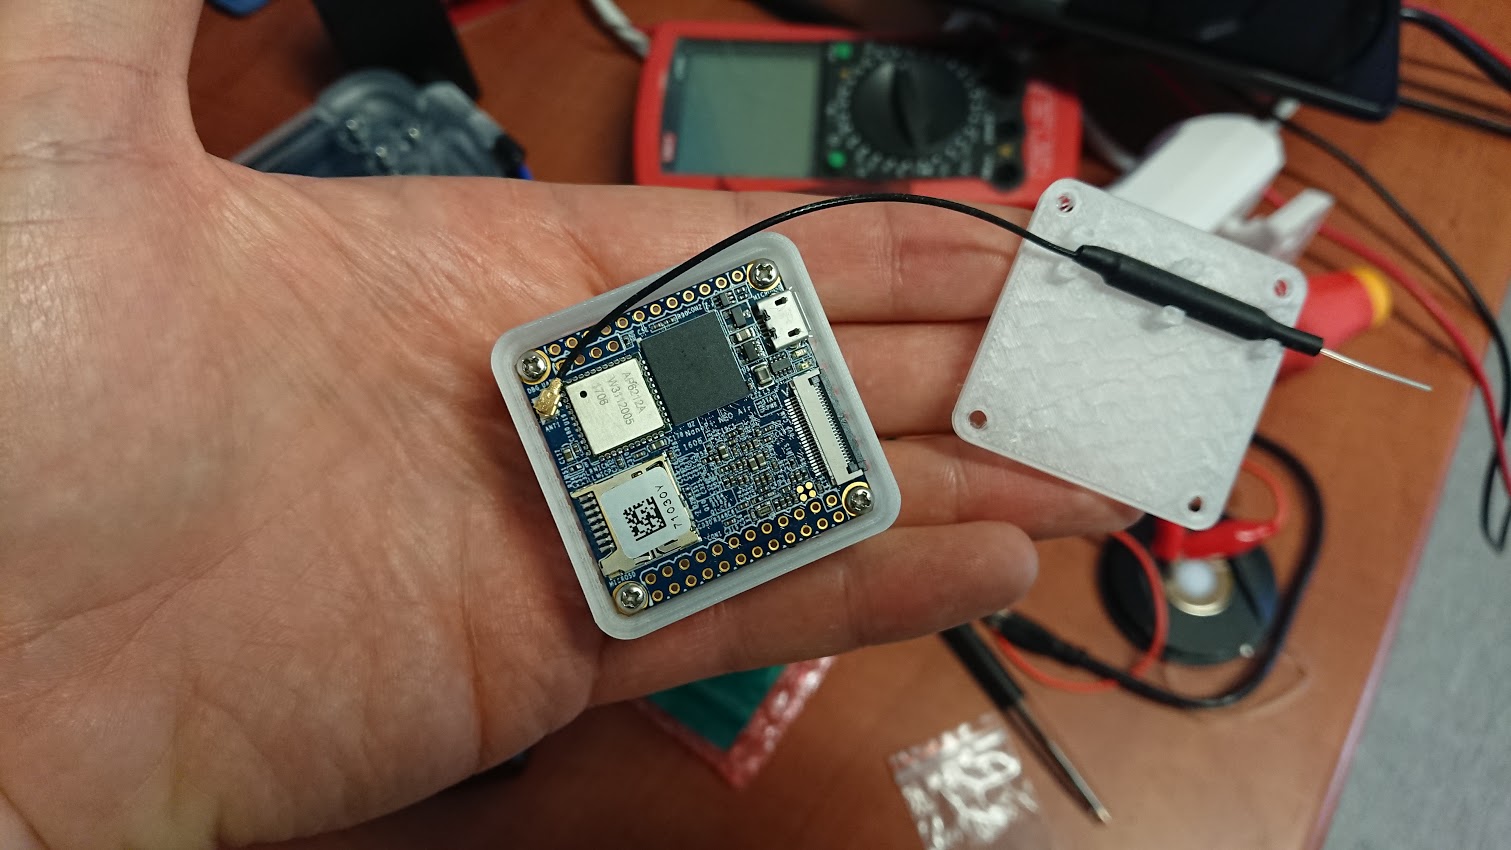
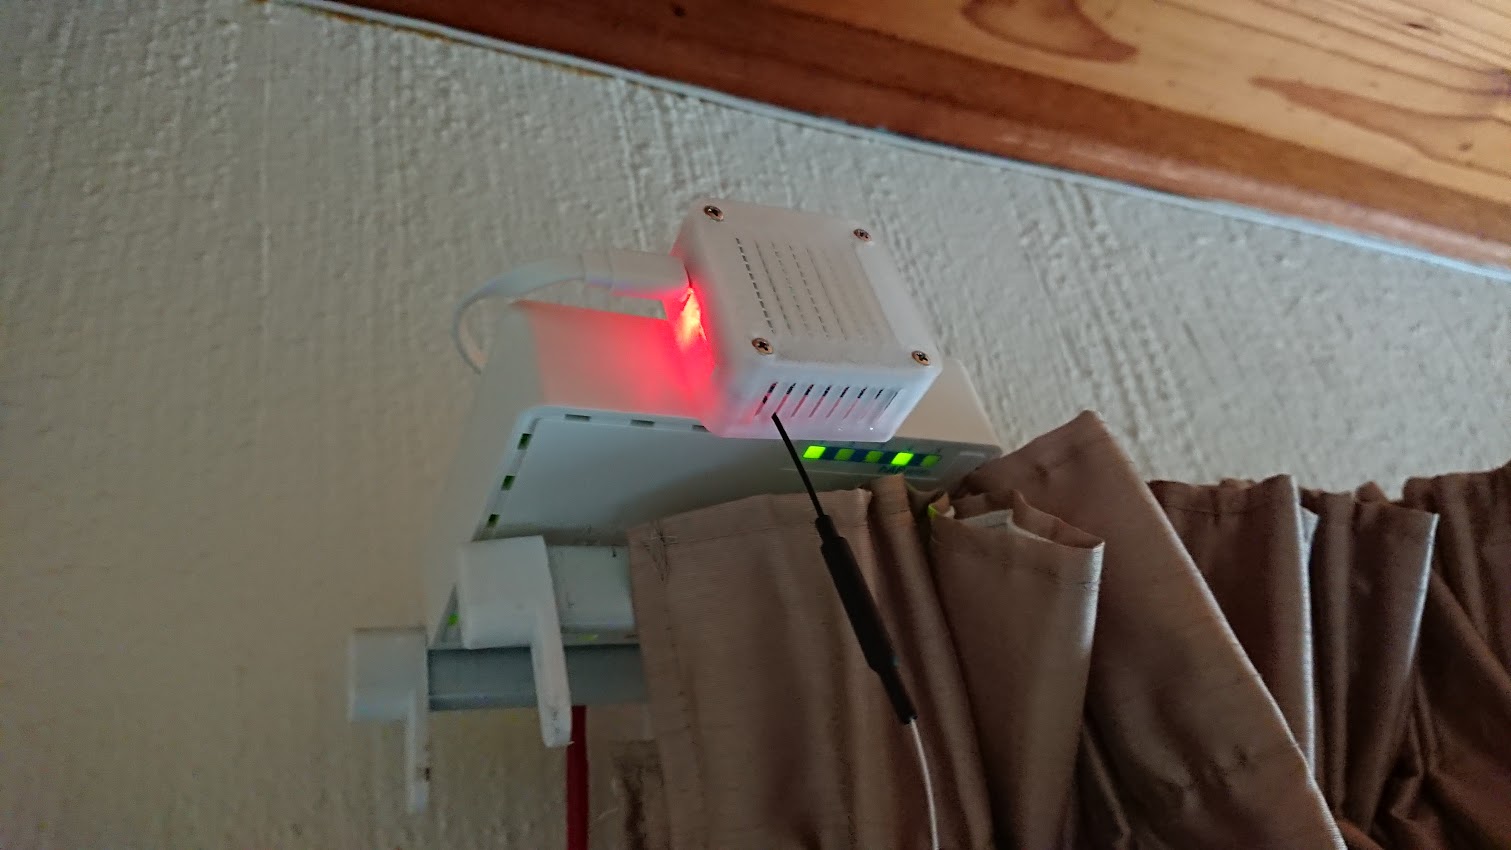
I use a FriendlyArm NanoPi Air in a 3D printed case as a bridge/gateway between the sensors and the MQTT broker (and therefore both Hass and InfluxDB).
All of these things can (and are) beautifully abstracted out into the Home Assistant web frontend, which runs nicely in both desktop Chrome and my phone’s browser. This got me thinking, maybe I should bring EVERYTHING into the MQTT broker?!? It’d have to be done properly because visions of the Mr Robot scene where a house goes bezerk are a real possibility where everything can be hacked and remotely controlled. Securing a home IOT network is an interesting topic on its own… maybe I’ll write about that next.
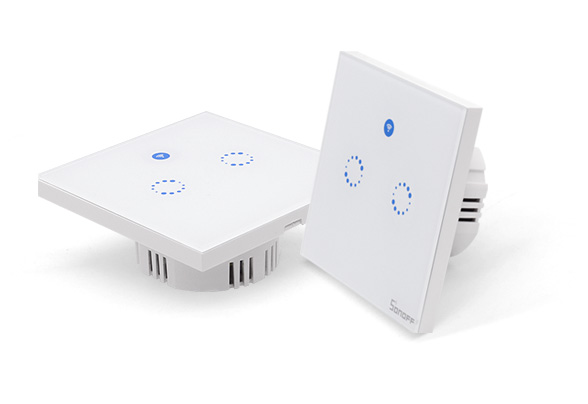
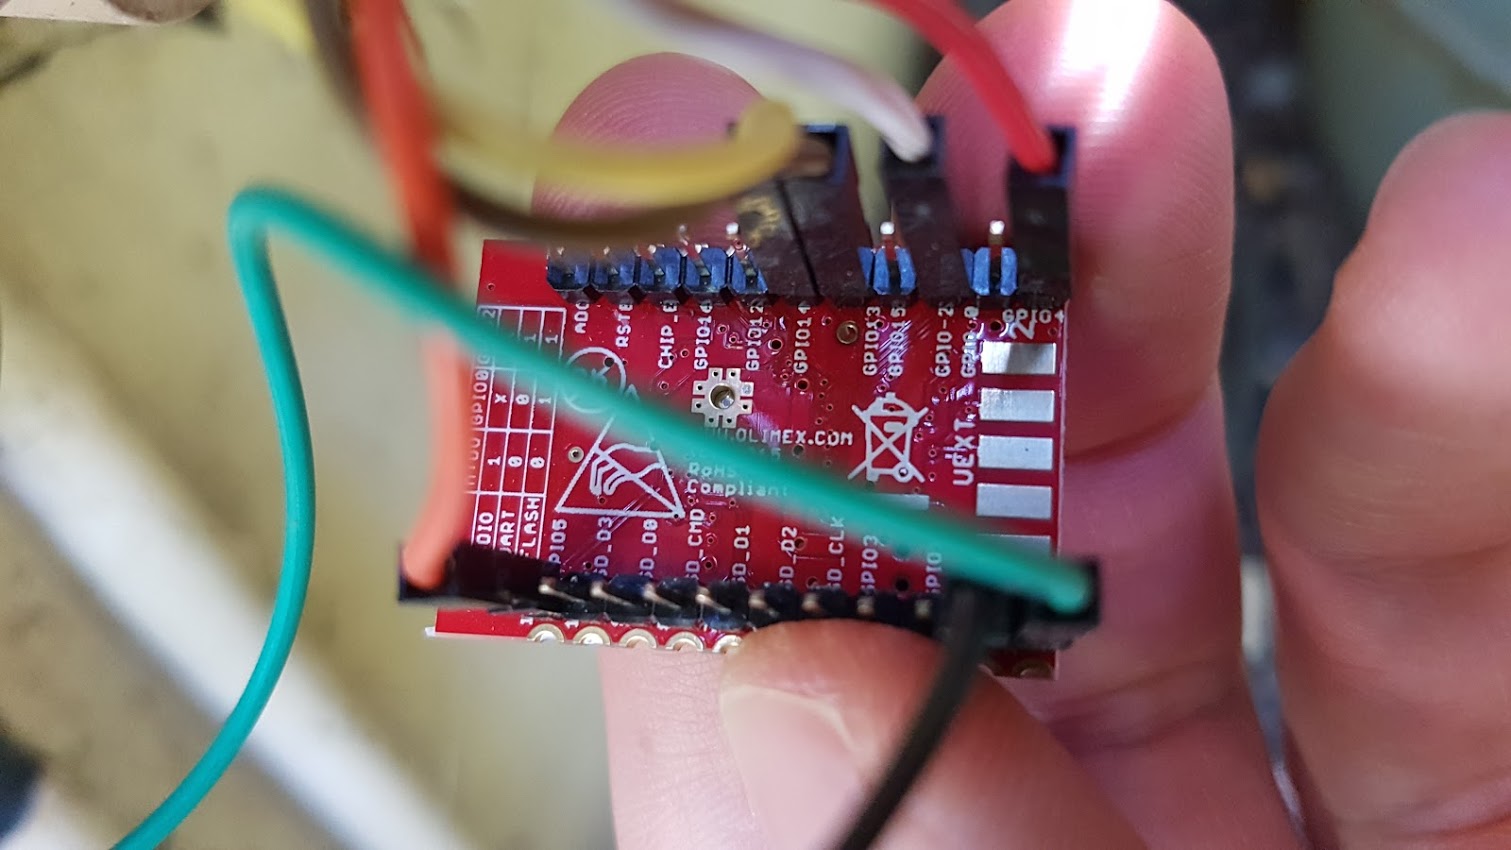
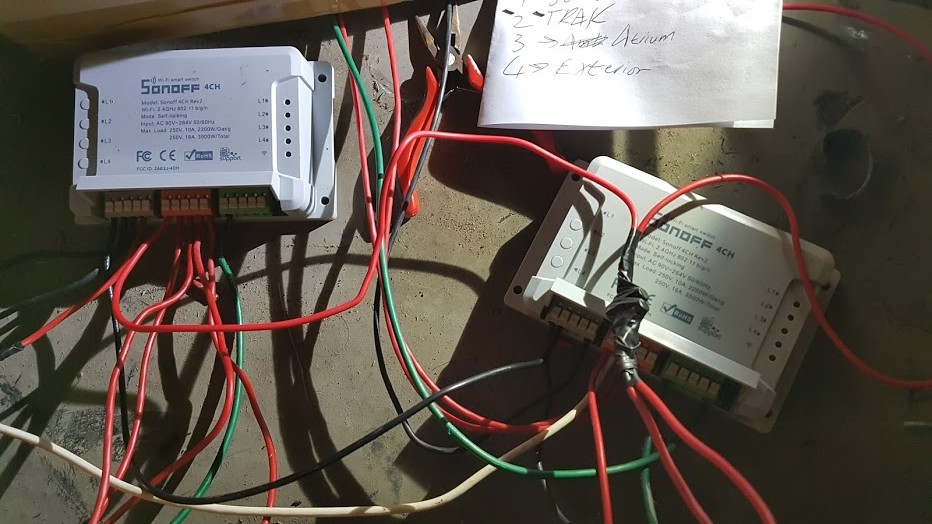
Back to apocalyptic home automation: A company called Itead makes a variety of switches which are meant to replace normal wall light switches. Crucially, these devices all use esp8266s inside, which means, with some finger gymnastics, they can be reprogrammed with custom firmware.
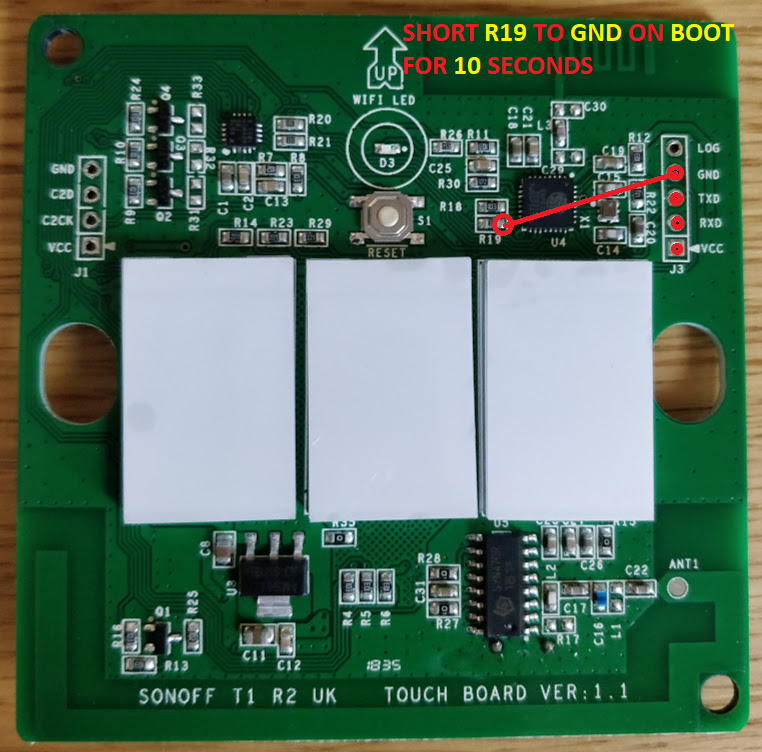
Yeah, you have to short R19 to ground during flashing, lots of fun. Also be sure to clear the RF MCU memory to avoid “ghost” switching 😀

Unfortunately, my house was built in the 80s and Sonoff devices need a neutral line to function. The idea of putting a neutral line in a light switch wall unit in the 80s would have seemed silly because switches only switch loads, they aren’t loads in and of themselves. Rewiring my house to have smart light switches has been a trial.
And some of this required work in the roof…

But, now we have this:
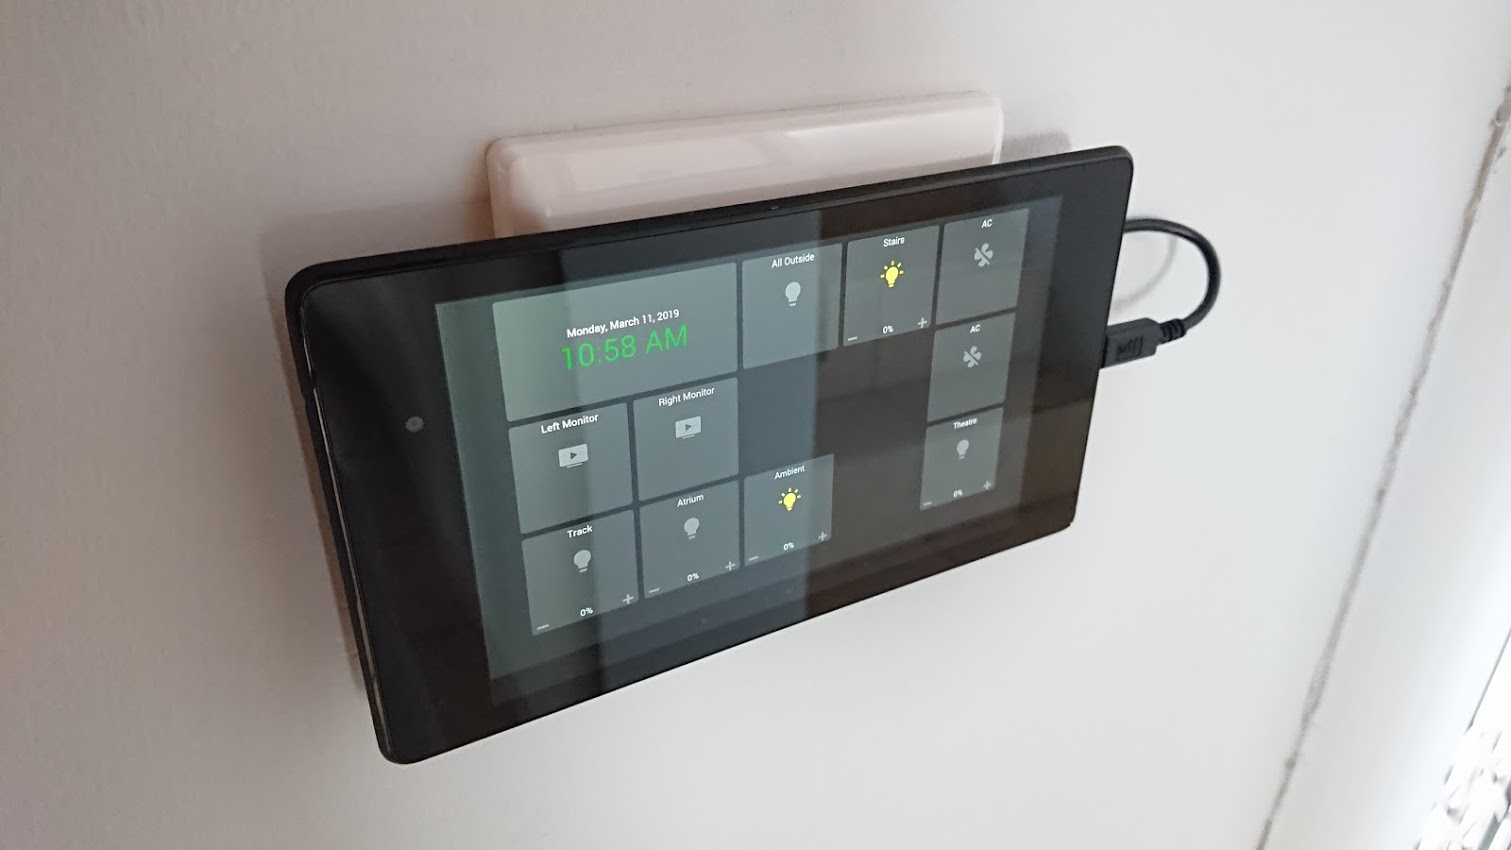
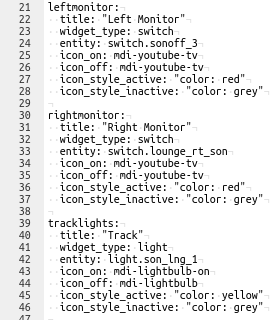
Yes, the air-conditioning is also controlled by Hass. It gives me tremendous pleasure to find a use for a tablet computer from 2013 that has sat gathering dust for years. The light plate behind it used to house 5 switches, all of which have been abstracted and reconfigured in various ways. The tablet itself is stuck on using velcro and is powered by an over-specced PSU in the wall. The tablet is set up to limit the charge of its battery to extend the life of the unit. The interface is a web-app being run on the tablet by WallPanel (an open source app by ThanksMister). The web part of the interface is called HADashboard. This is what the YAML for it looks like :

This system knows when my phone is on the network, it knows when there’s movement in the house (by virtue of being the alarm system – more on that later) and it can switch pretty much everything. The result is, I don’t have to turn on or turn off lights and when I do want to turn things on an off, I can do it from my phone, anywhere there’s internet connectivity. Once again, this is a complex subject suited to it’s own post.
I hope you enjoyed this quick dive into obsessive home automation with Home Assistant.